
4. Initialisation and general function
There are two ways of uploading a project in ParkOptimizer:
- Specify the WindSim directory by selecting the WindSim project file (.ws) in the Source Data panel. Check that the required Input Files are present is performed, followed by loading of the Area Map, which is the terrain inclination as generated in WindSim (Windsim_project_directory\dtm\view_inclination.scl ).
- Load an existing ParkOptimizer project from the file menu File –> Load Session, which loads a previously saved ParkOptimizer .mat file.
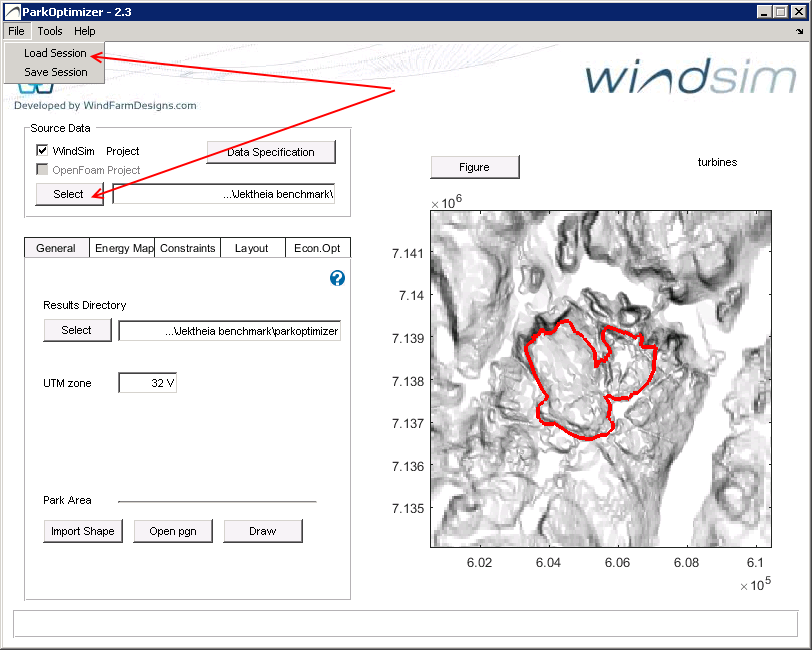
General tab view in parkoptimizer
The Results Directory is the directory where the Parkdesign Files are placed. After selecting the WindSim Source Data, the Results Directory will be set to Windsim_project_directory\parkdesign.
The UTM zone input is used for writing Google Earth energymap_ge.kml and windmap_ge.kml files, which are written after the energy map energymap.csv is calculated in the Energy Map tab. See overview of UTM zones worldwide
Access to the user documentaiont is available under the Help Menu –> Online Documentation, as well as the question mark icon
![]()
The Park Area should be defined by :
- loading a shape (.shp) file
- uploading a polygon (.pgn) as shown below. see also example file
! x, y
605892, 7137409
605368, 7137738
604742, 7137830
604845, 7137676
605255, 7137625
605851, 7137276
605892, 7137409
The Draw button will execute a drawing program as shown below. A default name is shown at the top left, and a Help button gives instructions for use. The file will be saved to the Results Directory.
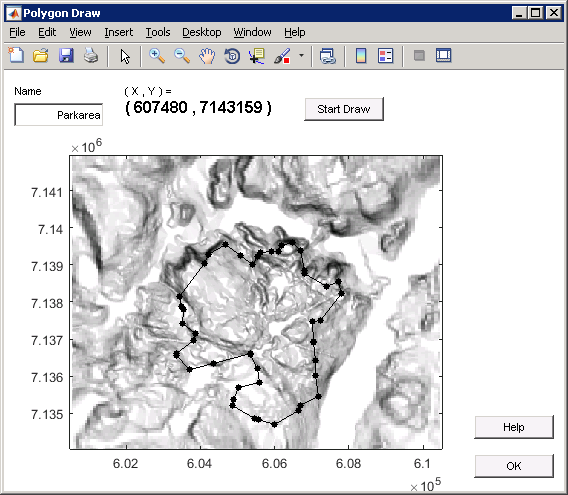
Drawing park area